This shop has been compensated by Collective Bias, Inc. and its advertiser. All opinions are mine alone. #MagicBabyMoments #CollectiveBias

One of my good friends named Sarah recently had a new baby. His name is William and he is the cutest little button in the world! I like to squeeze his little cheeks and remember what it was like to have a newborn myself. William is also Sarah’s second child. Her first child was a boy too. So with this new little addition to her family, there is a lot of testosterone running around her house these days!
You see, Sarah is a very special person to me. She was there when one of my children was diagnosed with a learning disorder that required a lot of intervention and personal therapy. She guided me through the process and held my hand through all the ups and downs. Today my child is doing great and I give credit to Sarah for her all support.
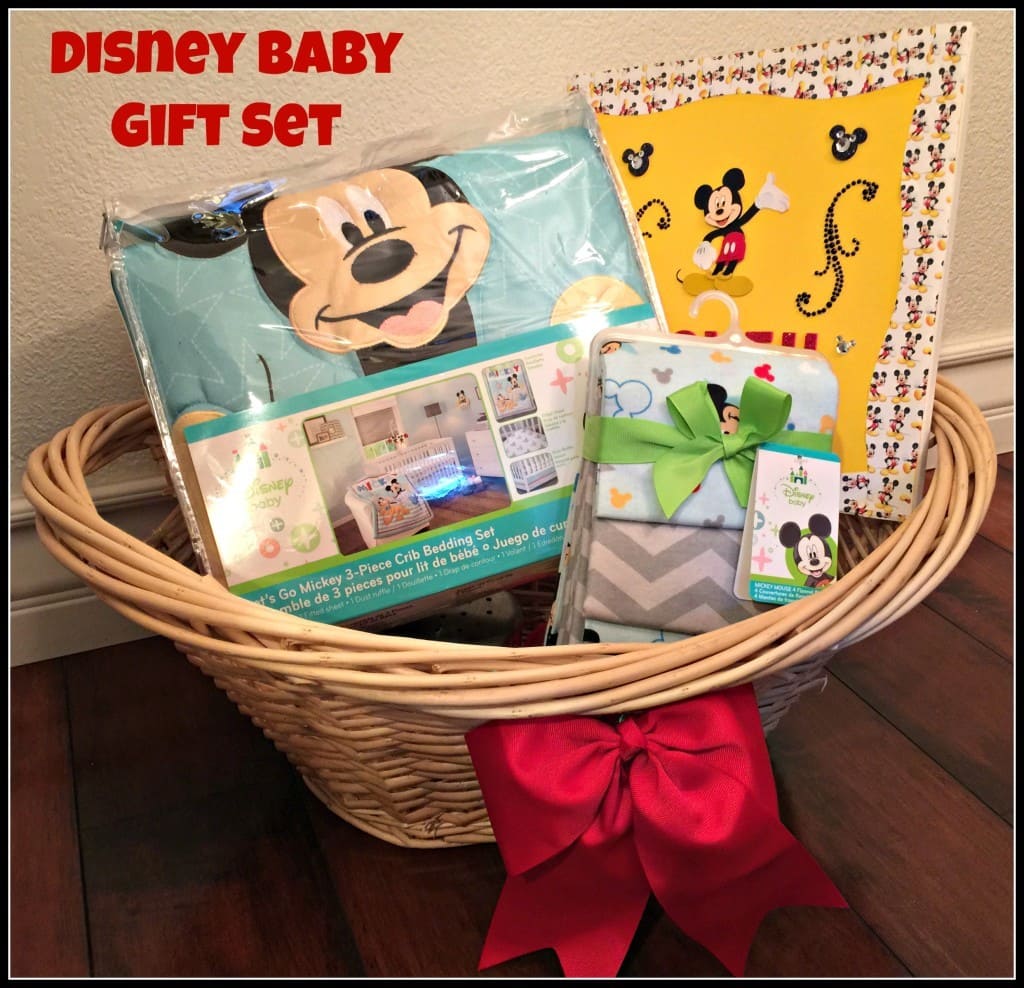
With Sarah’s new son just being born, I wanted to give her a nursery make over! Add some new linens, change up the wall paper and refresh the room a bit. The good news is that with the Disney Baby product line at Walmart, I was able to update her nursery both fashionably and inexpensively.
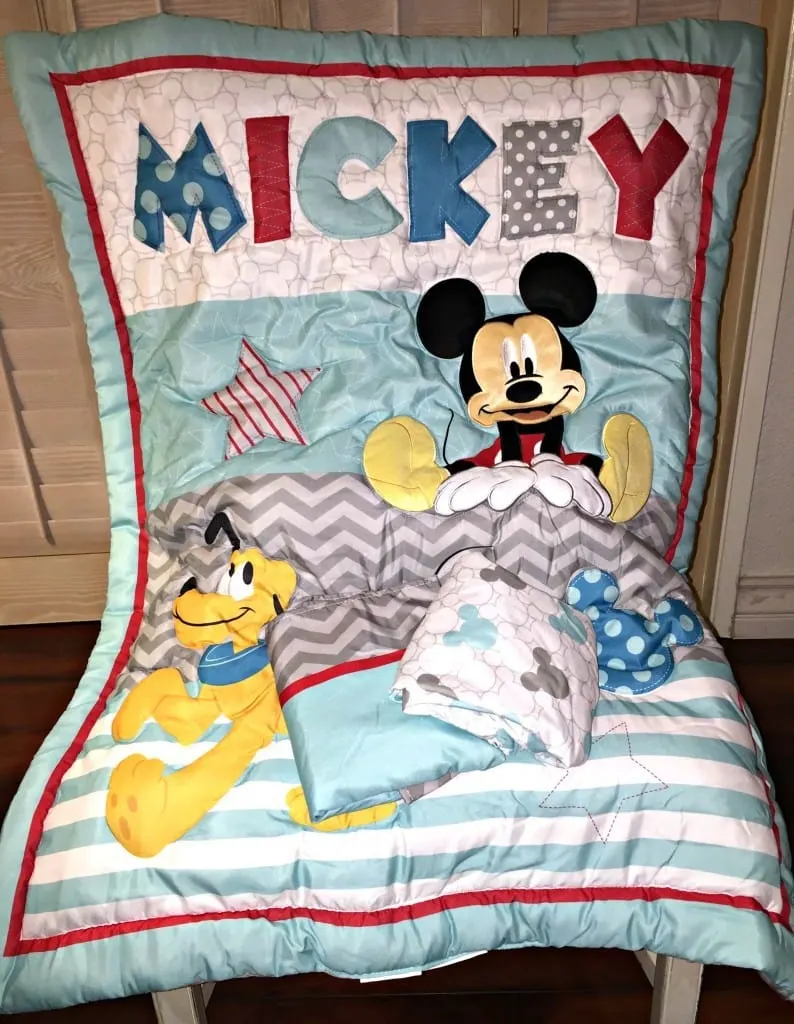
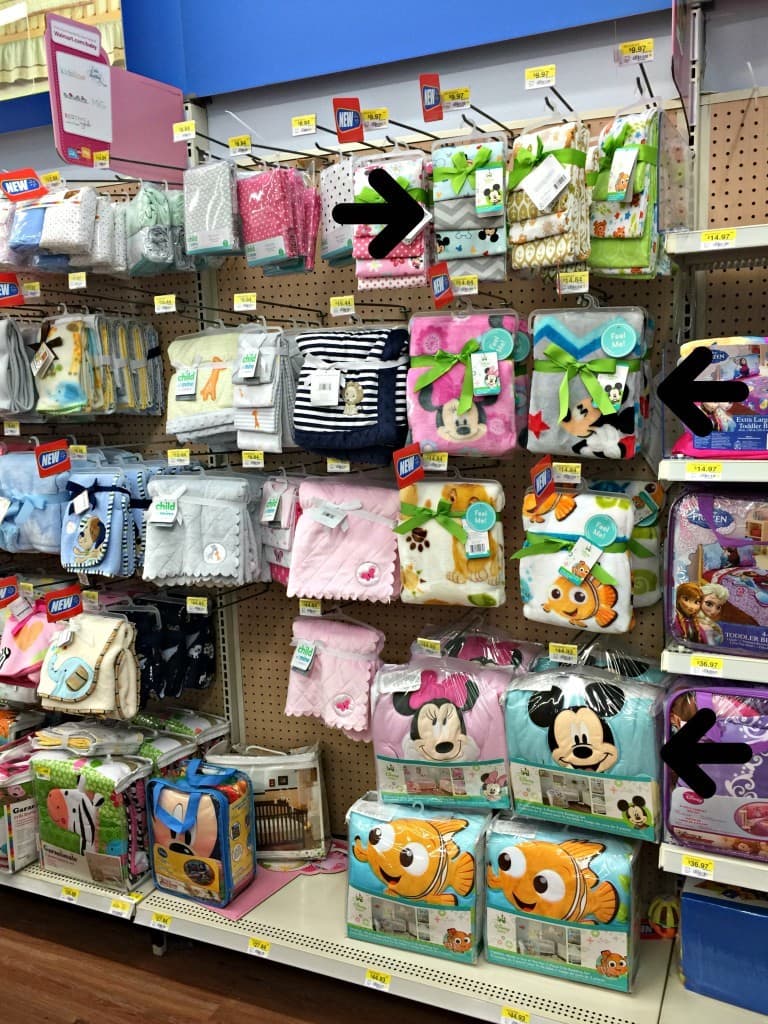
The Disney Baby Let’s Go Mickey 3-Piece Crib Bedding that I picked out includes a comforter, fitted sheet and dust ruffle. The comforter features an appliqued Mickey Mouse which was the inspiration for my craft. The crib sheet fits a standard-size 28-inch by 52-inch crib mattress and has a silhouette print Mickey pattern. The coordinating dust ruffle completes the set.

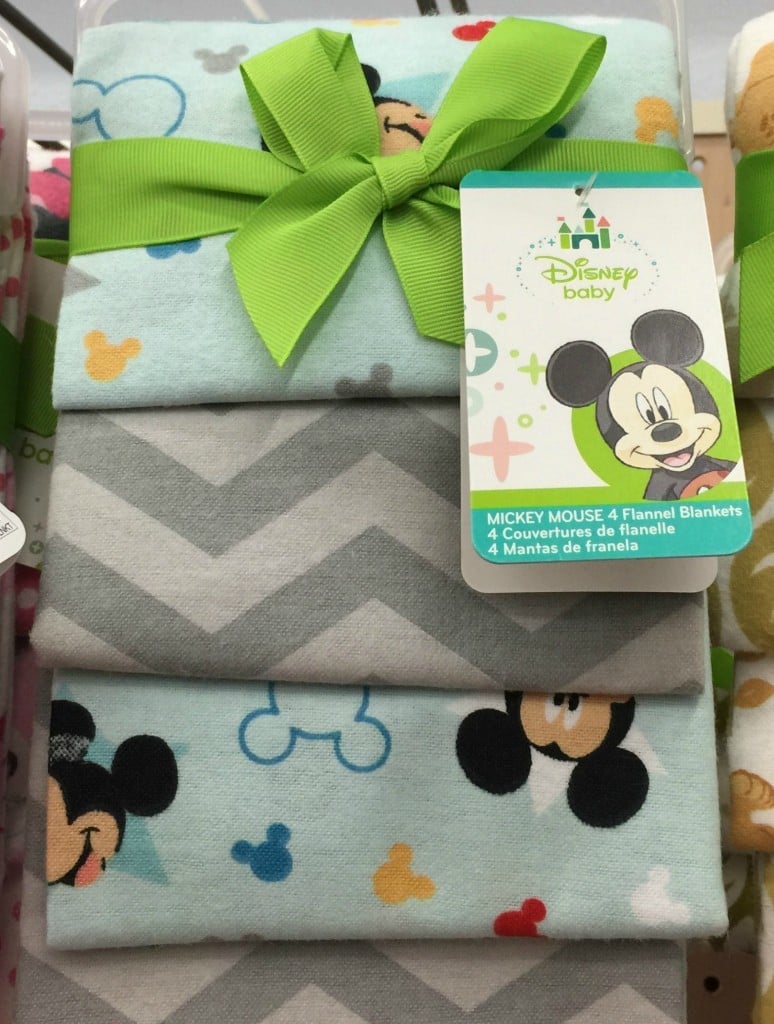
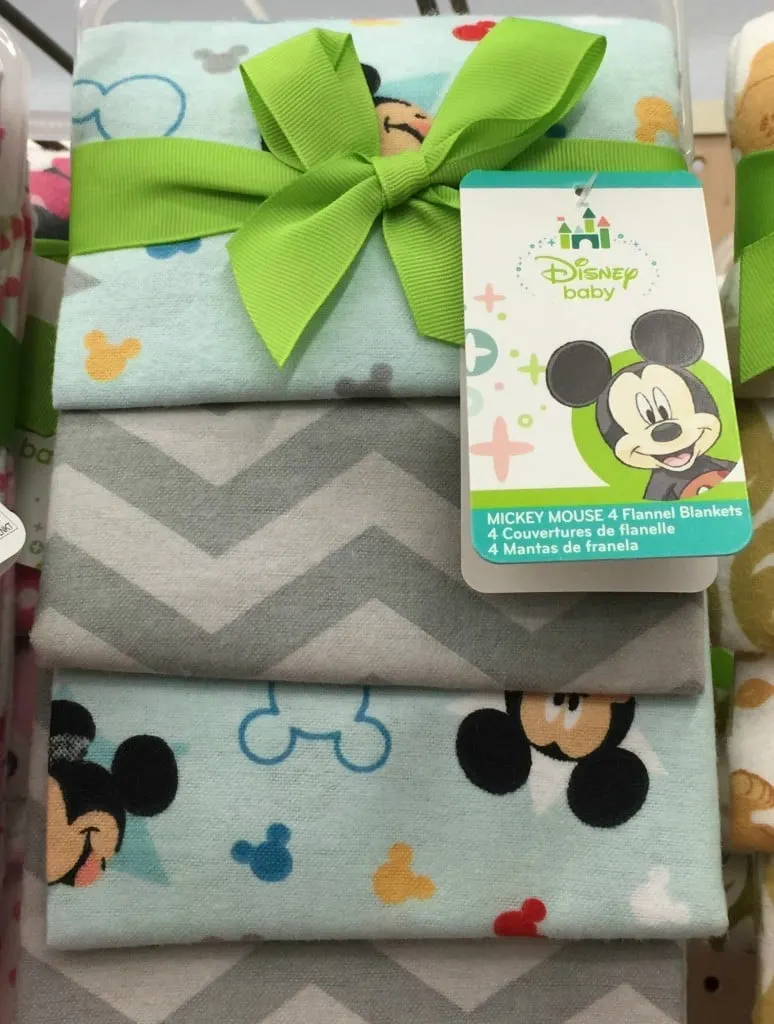
I also decided to get her the Disney Baby Let’s Go Mickey flannel blankets. Two of the blankets feature a fun all over Mickey Mouse pattern, while the other two come in a contemporary grey chevron print. They are made from 100% cotton.
Sarah is also the type of mom that likes everything to match! So while shopping for her new nursery decor, I decided to make an easy Mickey Mouse Picture Frame to go along with the theme.
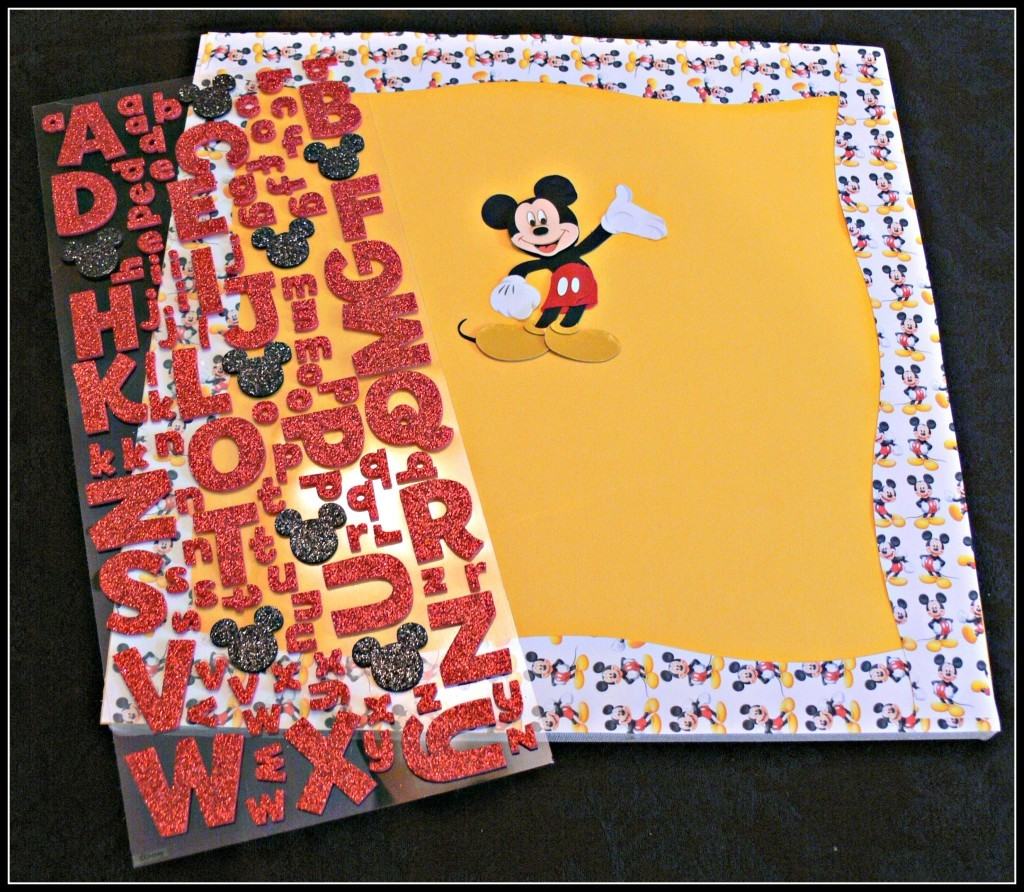
For this craft you will need the following items:
- 12 x 12 blank canvas
- Mickey Mouse Stickers
- Sticker Jewelry
- Border Cutter (any type)
- 12 x 12 Mickey Mouse Scrapbook Paper
- 12 x 12 Yellow Scrapbook Paper
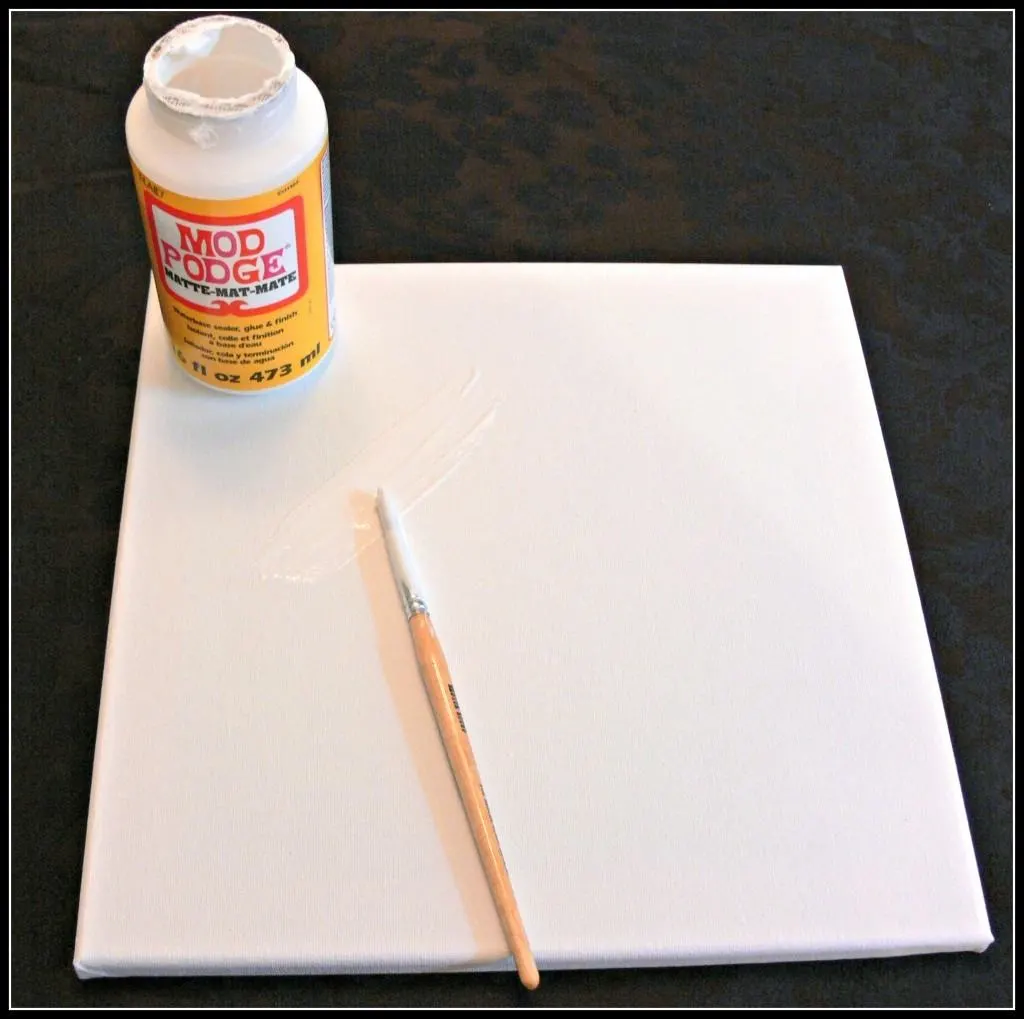
- Mod Podge
- Paint Brush


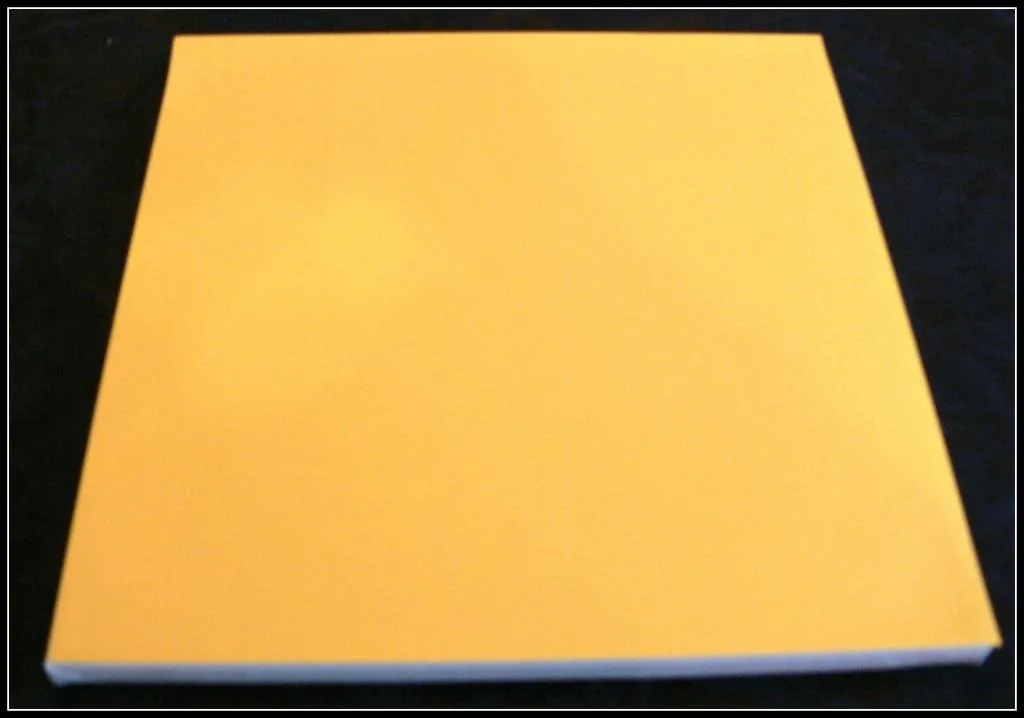
The first step is to cover the entire canvas with Mod Podge. I love Mod Podge, because it’s easy to apply and dries fast. However, if you spill any Mod Podge on your table or clothing, make sure to wipe it off right away, because it creates a permanent bond.

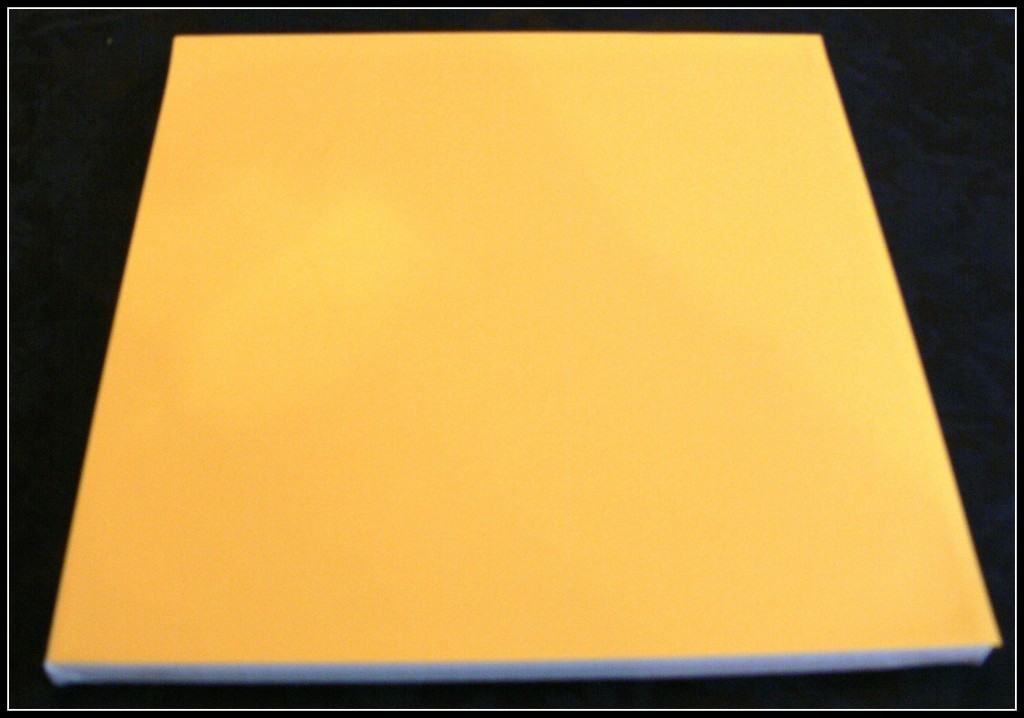
Next add a sheet of 12 x 12 yellow scrapbook paper to the canvas. You can rub out any air bubbles that you find with your hands.
After adding on the yellow paper, make approximately four (4) 2 x 12 inch borders out of the 12 x 12 Mickey Mouse scrapbook paper. To make the borders I used a fancy paper cutter. However, you can use whatever you want to make them including scissors.


Next glue the Mickey Mouse borders onto the canvas using Mod Podge.

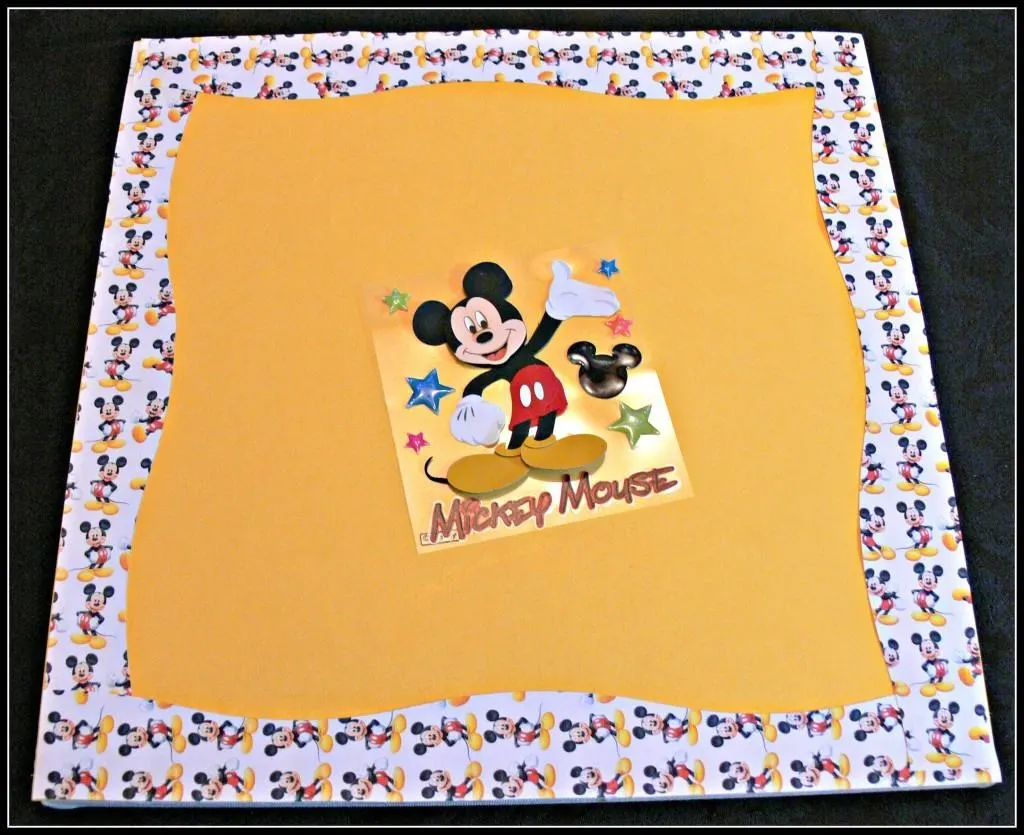
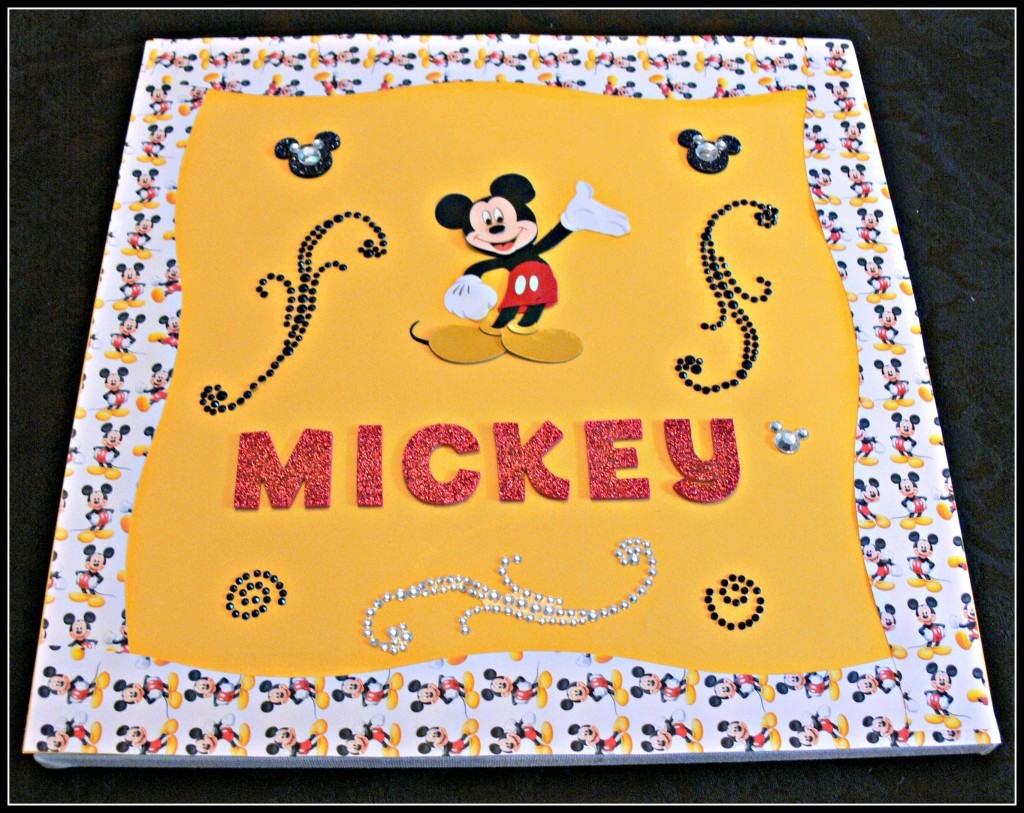
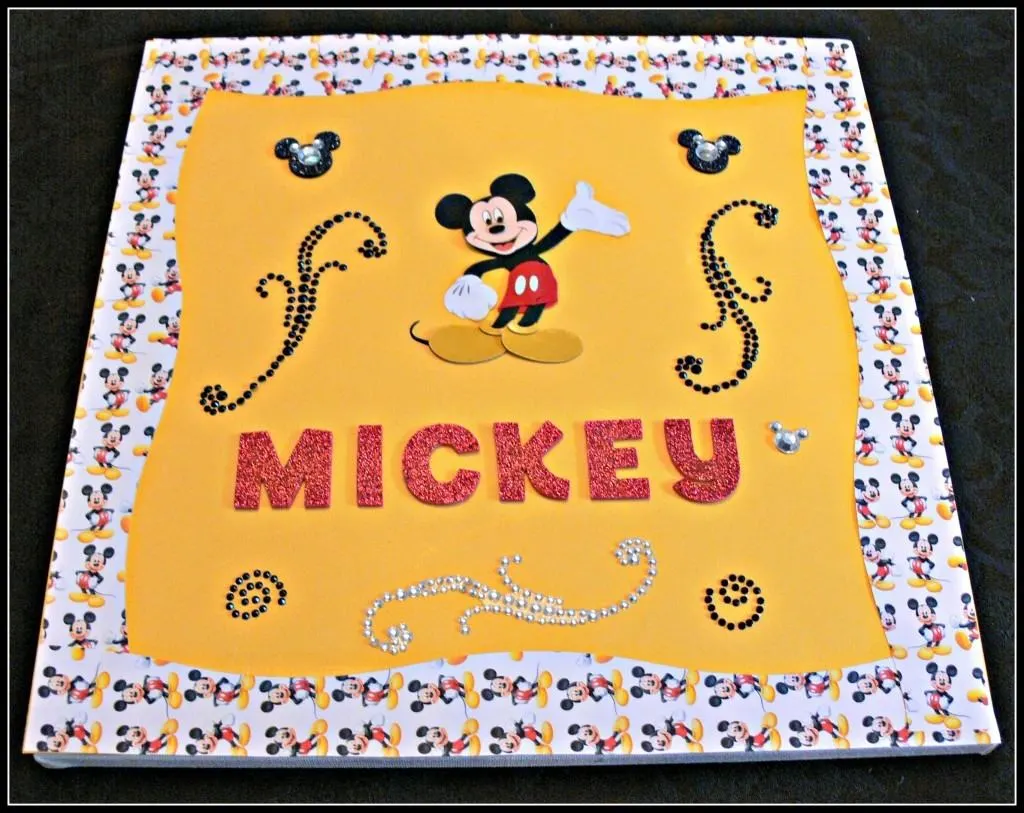
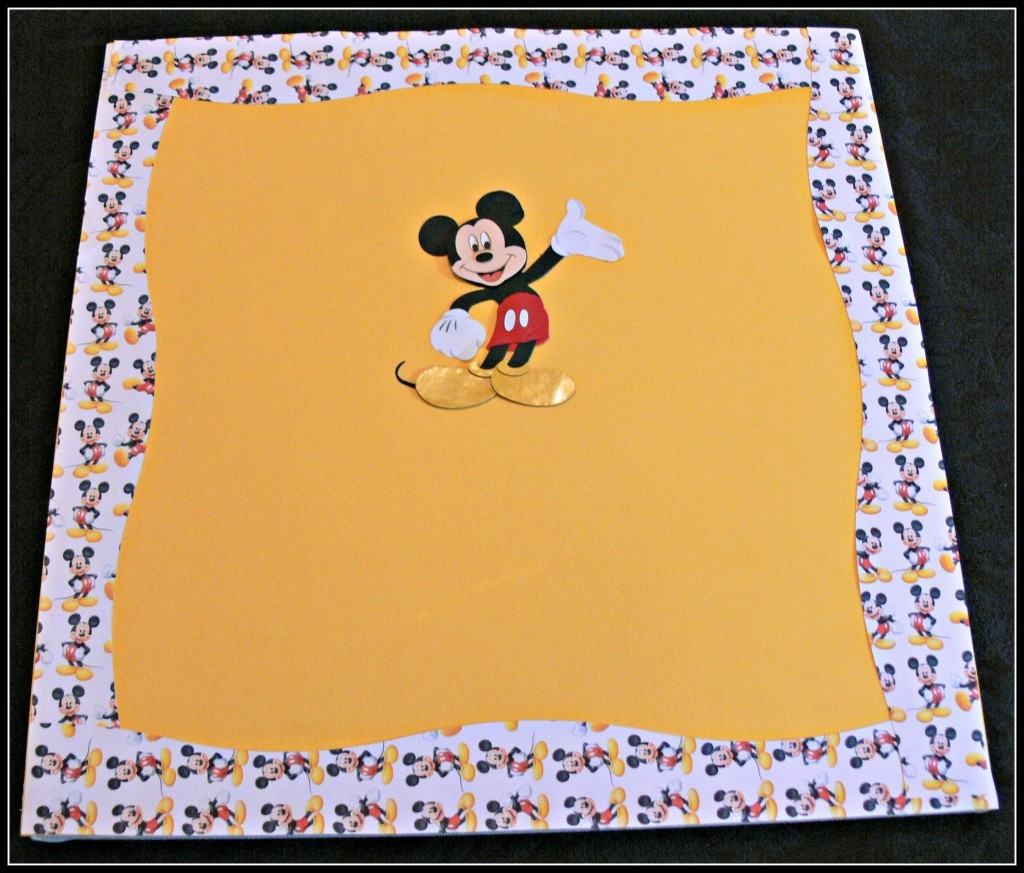
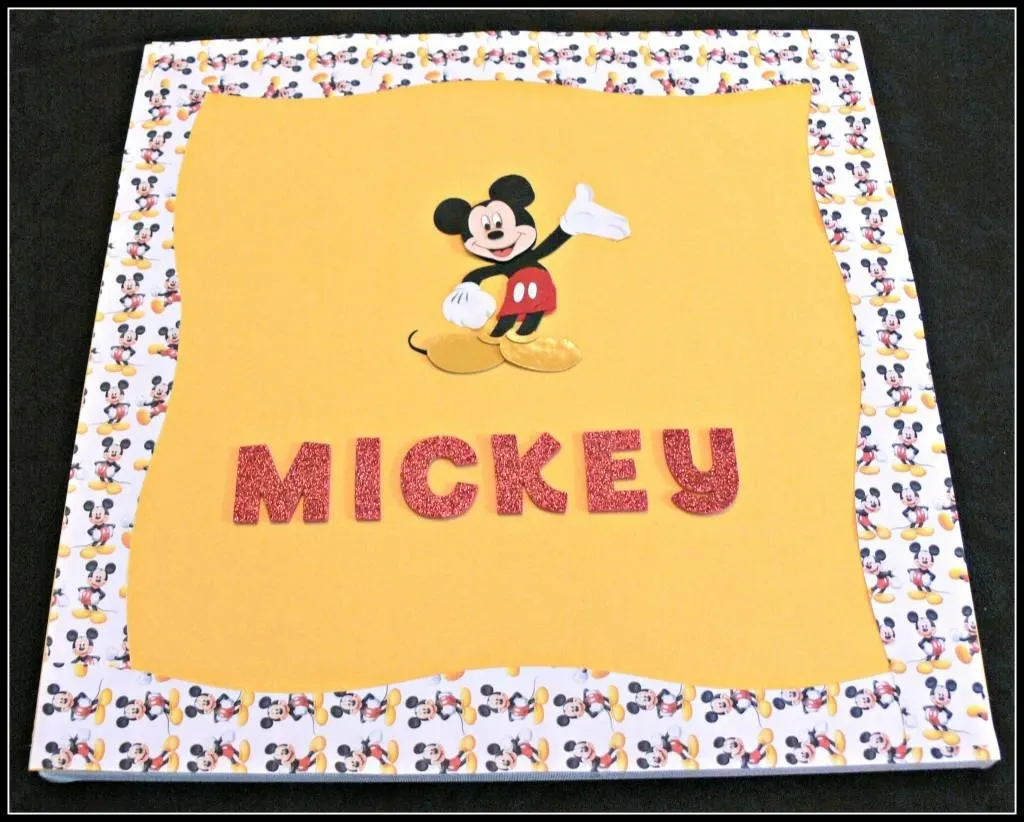
Add one large size Mickey Mouse sticker in the center of the picture frame.
Next add the word “Mickey” underneath the Mickey Mouse emblem using uppercase foam stickers.


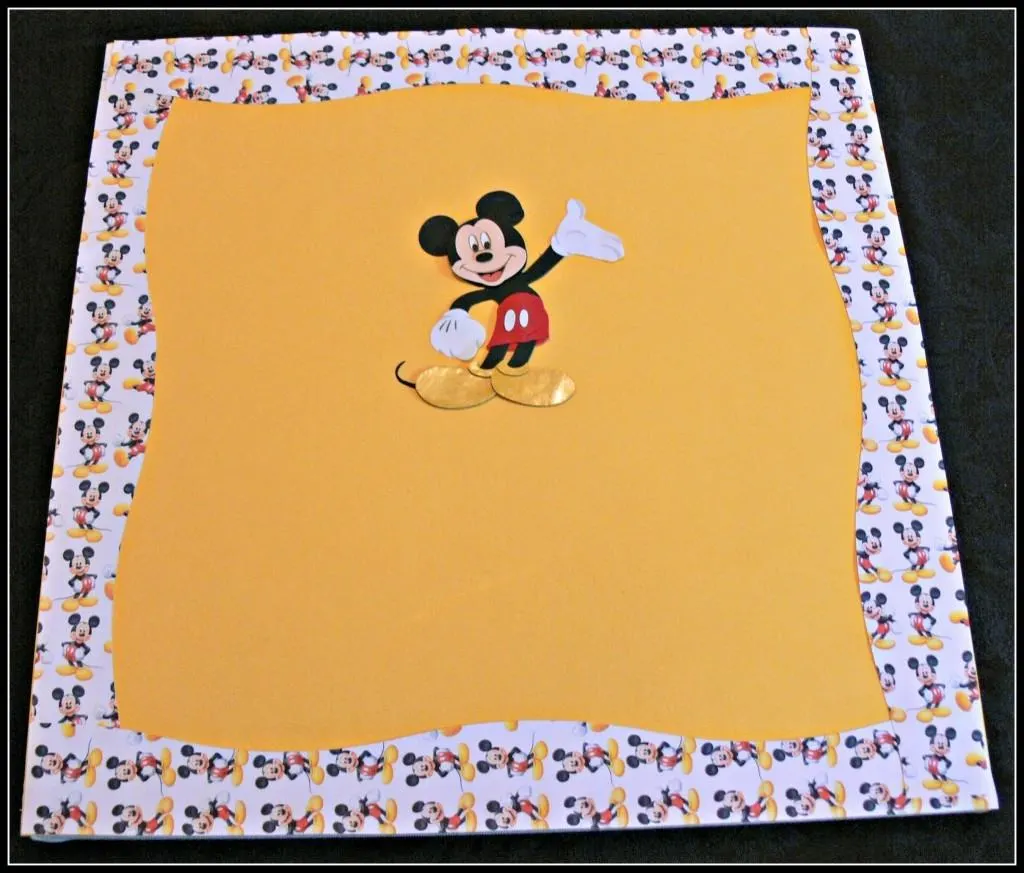
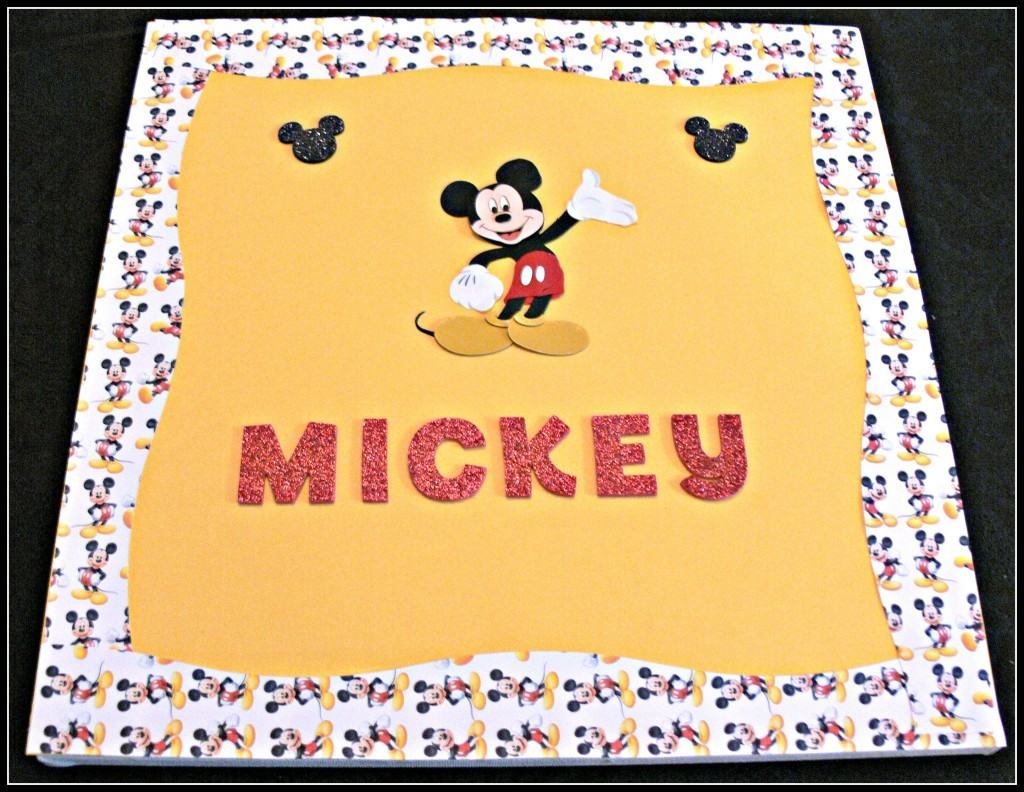
Now add on all the accents. First, add two of the large Mickey Mouse foam ears at the top of the picture.

Next add one black sticker jewelry on each side of the Mickey Mouse emblem.
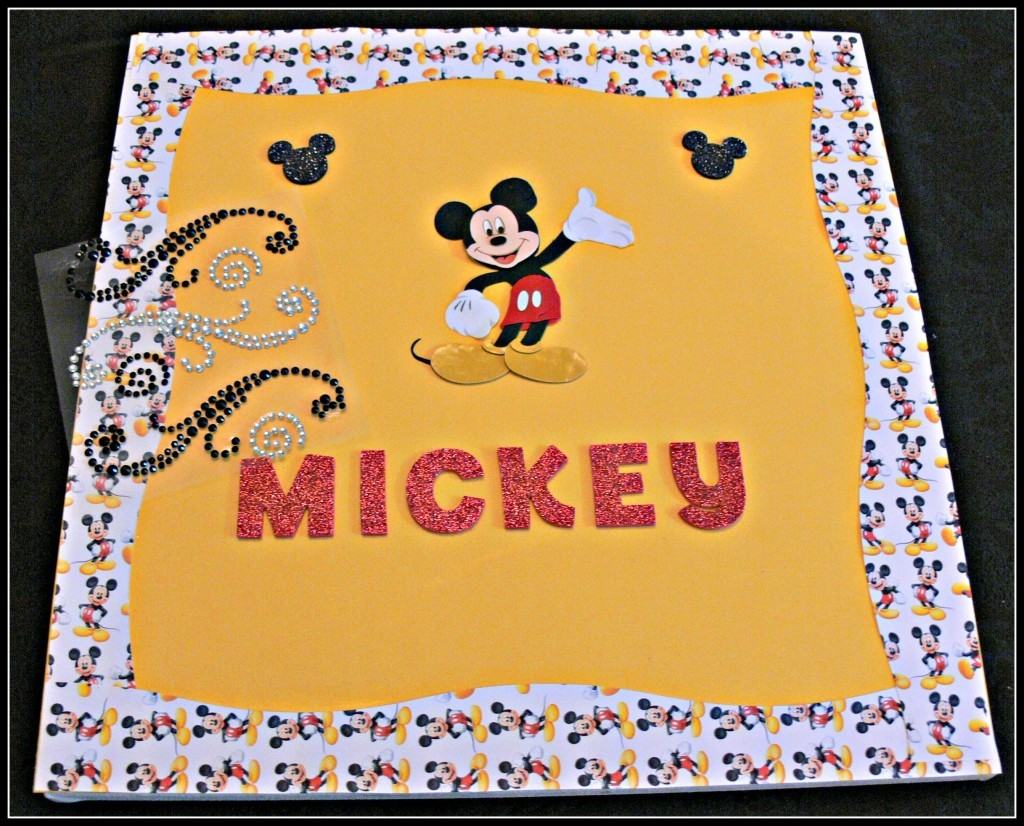

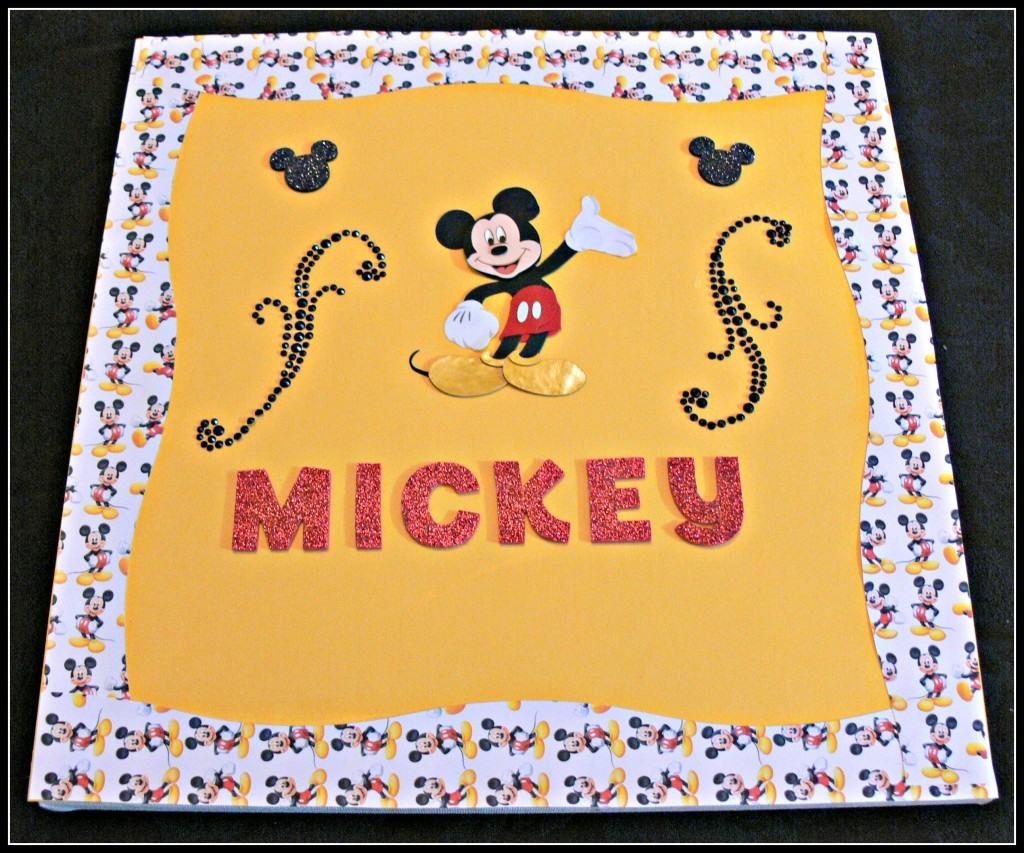
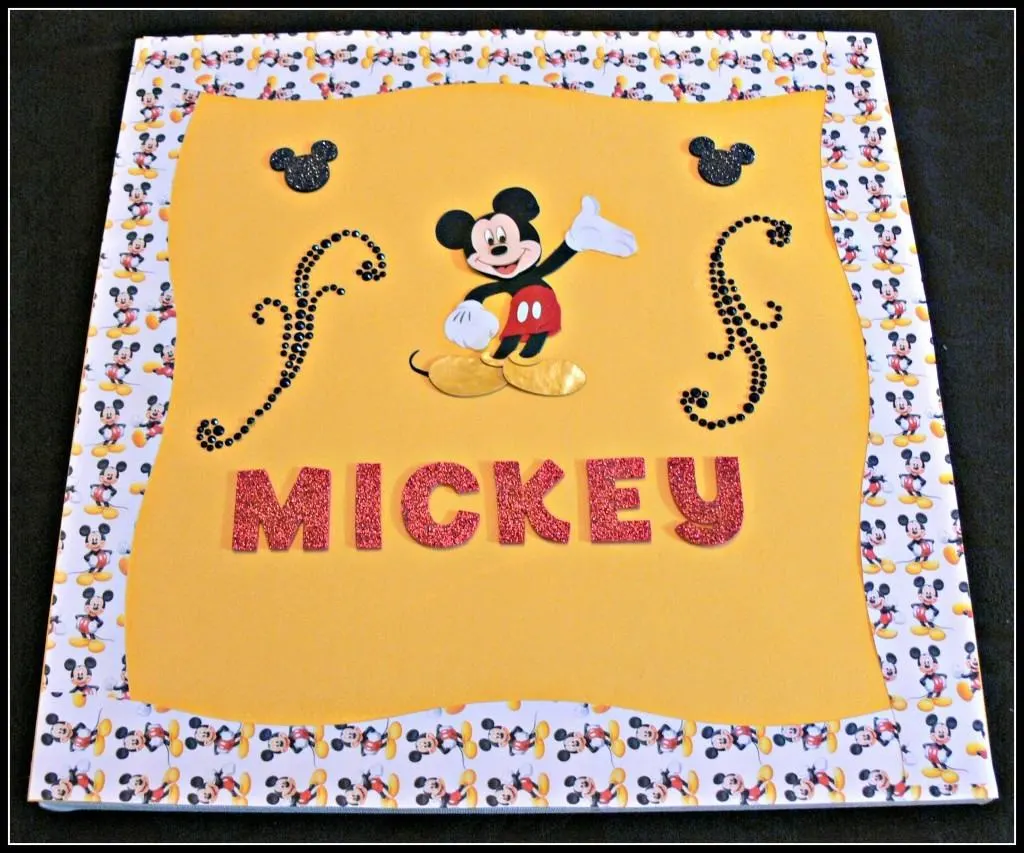
Then add one Mickey Mouse rhinestone onto each of the Mickey Mouse foam ears.
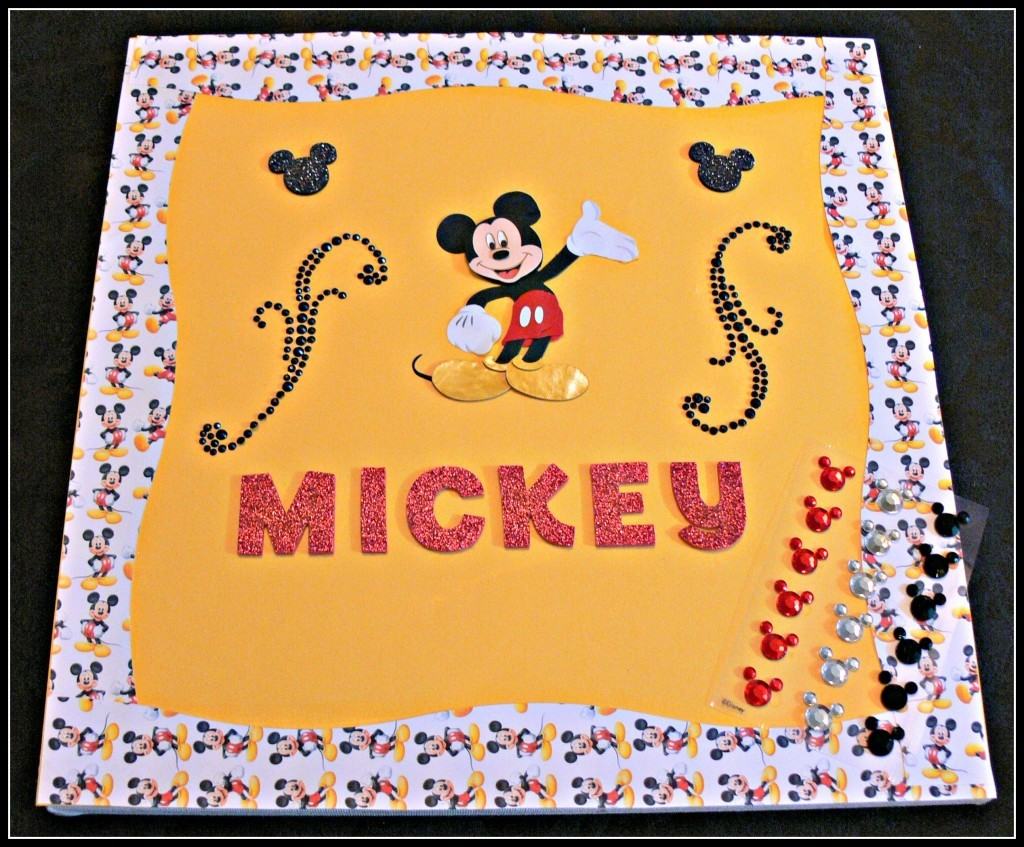
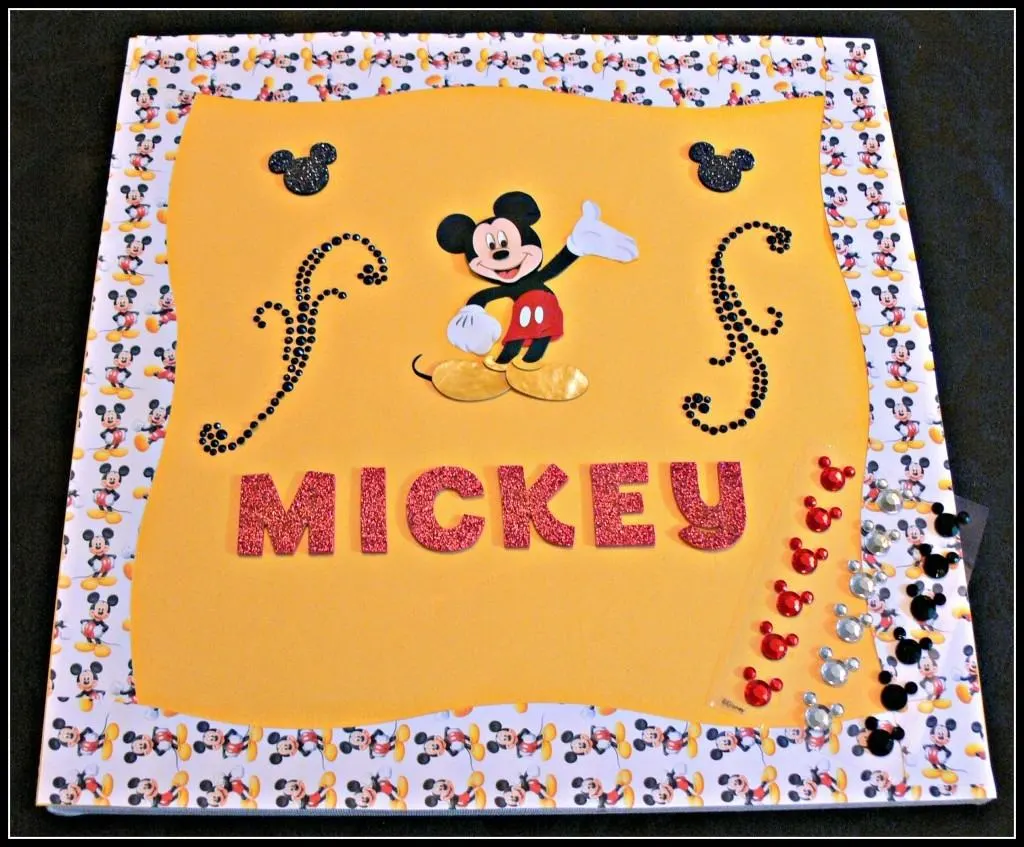
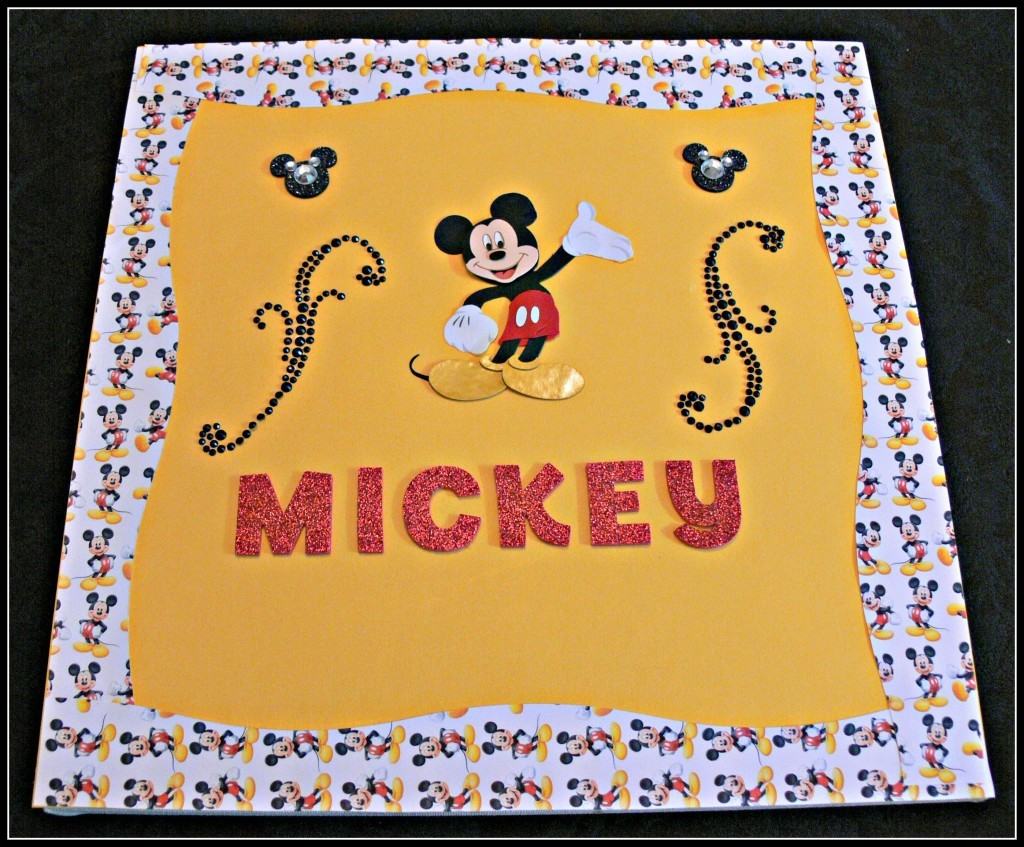

Finally, top off the Mickey Mouse Picture Frame with one Mickey Mouse rhinestone, one silver sticker jewel, and two black sticker jewels at the bottom of the picture.
Let the picture dry for approximately 2 hours and then hang it on the wall! Enjoy!
This Mickey Mouse Picture Frame is a great addition to any Disney lover’s nursery. Especially if you select the Disney Baby product line!
Just so you know, I found all of the items in the Disney Baby product line in the baby aisle at my local Walmart.

So I’ve shown you how I plan to update my friend’s nursery using the Disney Baby product line! Now what do you plan to do for yours?
Happy Decorating!
Jilleen
Kathryn Turner
Thursday 16th of July 2015
What a nice idea. Everyone loves Mickey Mouse!
Michelle
Wednesday 15th of July 2015
What a cool piece of wall art! I bet your friend will love it, and how perfect to tie it into the rest of your gift! #client
Christine
Monday 13th of July 2015
So adorable! You did a nice job on the art project!
Jilleen
Monday 13th of July 2015
Thanks! It took a long time, but worth it!