Sponsored

It’s amazing what we’ll do to serve the ones we love. As women, we spend an inordinate amount of time in the kitchen cooking for our families. We cook for the holidays, bake for school fundraisers and pack our children healthy lunches everyday. And while some of us enjoy cooking, others of us just like to eat! So, whether cooking is pleasurable or stressful or occasionally both, we have to do a lot of it.
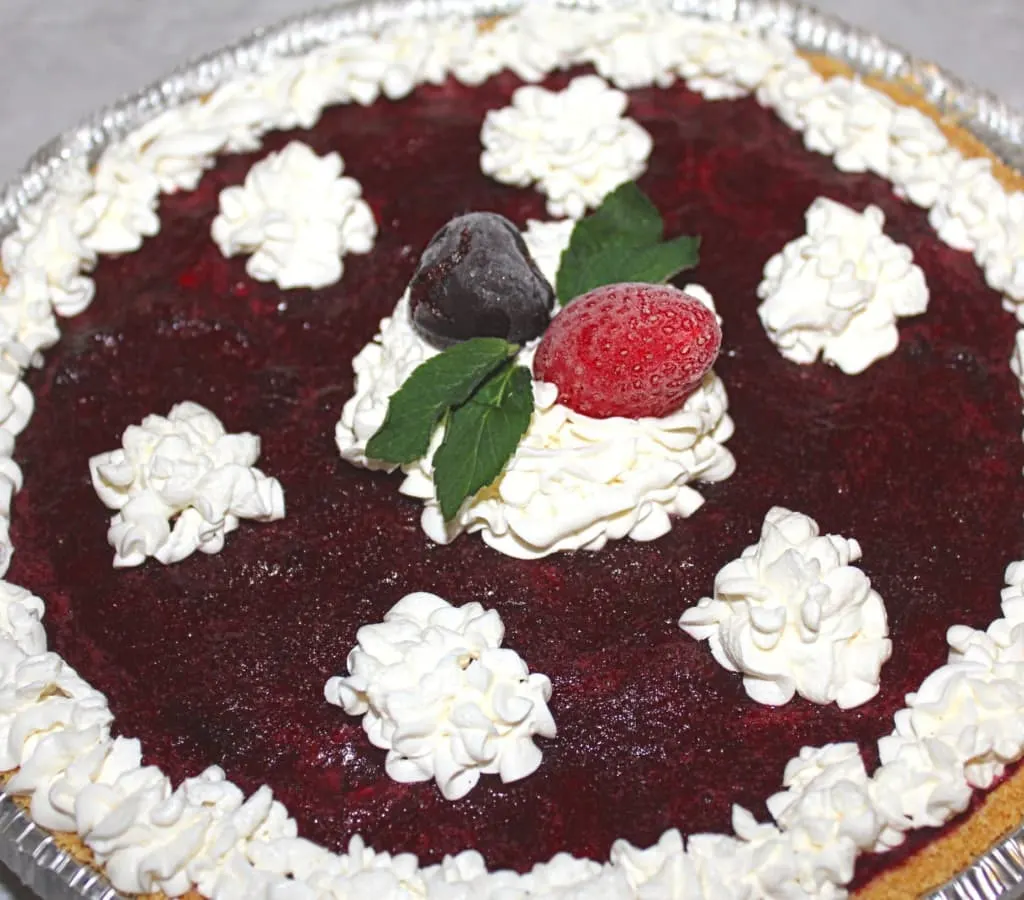
Baking a pie is one such task that requires a lot of time and energy. However, with this Easy Frozen Berry Pie Recipe with Step-by-Step Directions, you will definitely save yourself a lot of hours of preparation.
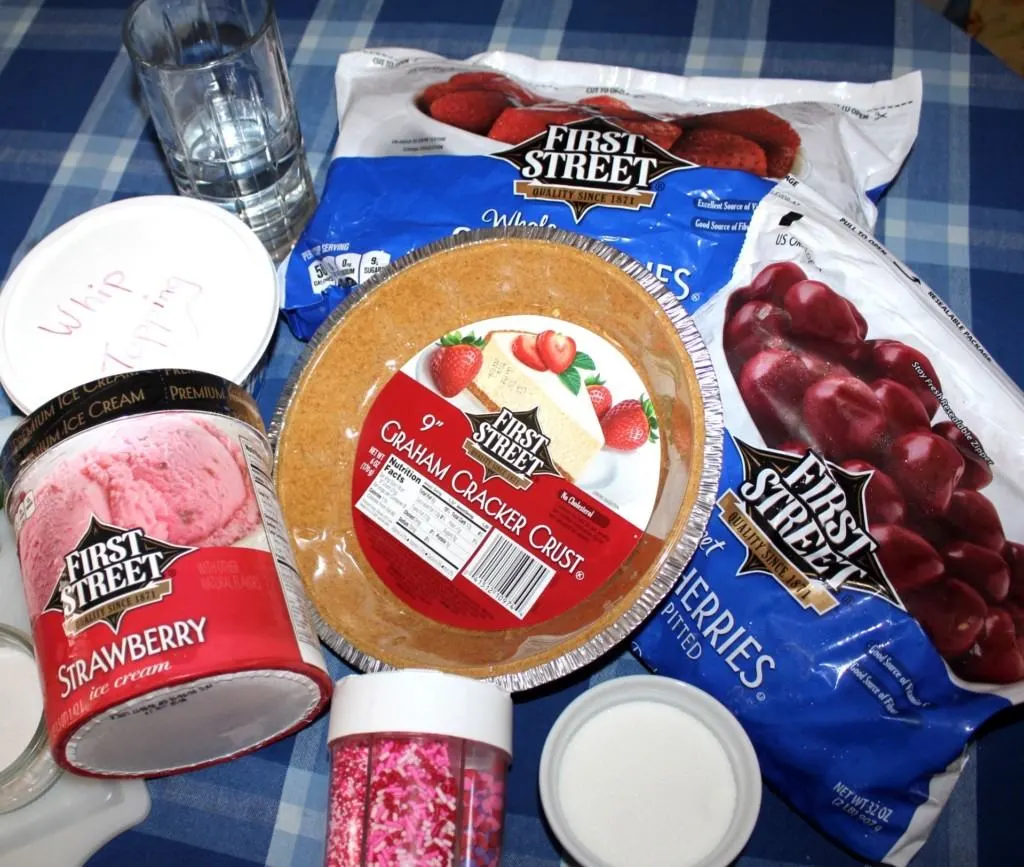
Early this week, in celebration of Frozen Foods Month, I went to my local Smart & Final store to purchase a few ingredients to make this Easy Frozen Berry Pie for my family. While in the freezer section, I picked up a container of First Street Strawberry Ice Cream and a package of First Street Whole Strawberries and First Street Dark Sweet Cherries.
I prefer to shop at my local Smart & Final, because they have the lowest prices in town and have everything I need to make my family delicous frozen meals. I also like the fact that Smart & Final supports the local communities in which they serve.
Frozen Berry Cream Pie Recipe

You will need the following ingrediants to make this pie.
1 First Street Graham Cracker Crust (keep the lid!)
1/3 of a carton of First Street Strawberry Ice Cream (.5 qt)
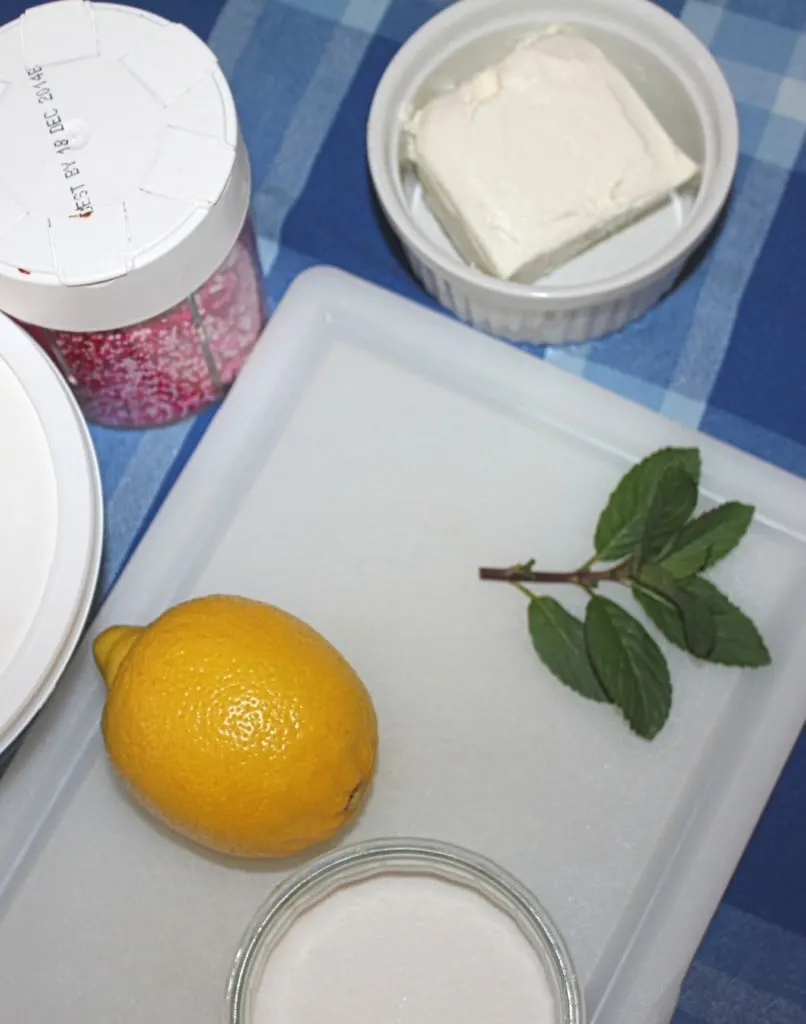
Half a stick of cream cheese (4 oz) and ¼ cup sugar
Lemon juice from ¼ of a lemon
½ a container of whipped topping (4 oz)
1 cup water
½ cup sugar for the water
1 cup First Street Dark Cherries
1 cup First Street Strawberries
Mint, frozen fruit, and sprinkles for decoration (optional)
You will also need the following baking tools to make it.
A wisk, ice cream scoop, spoon, mixing bowl, 2 quart saucepan, timer, mixer (optional), measuring cups, scissors, spatula, knife, 1- 2 quart size plastic zipper bags or a pastry bag and pastry tip for decorating.
Frozen Berry Pie Step By Step Directions:
Step 1: Defrost the ice cream.
As you let the First Street Strawberry Ice Cream thaw out a bit, this is a good time to gather your other ingredients and tools together.
Step 2: Start the Berry Sauce
You want to start the berry sauce first while your ice cream softens, because it takes approximately 30 minutes for the sauce to simmer.
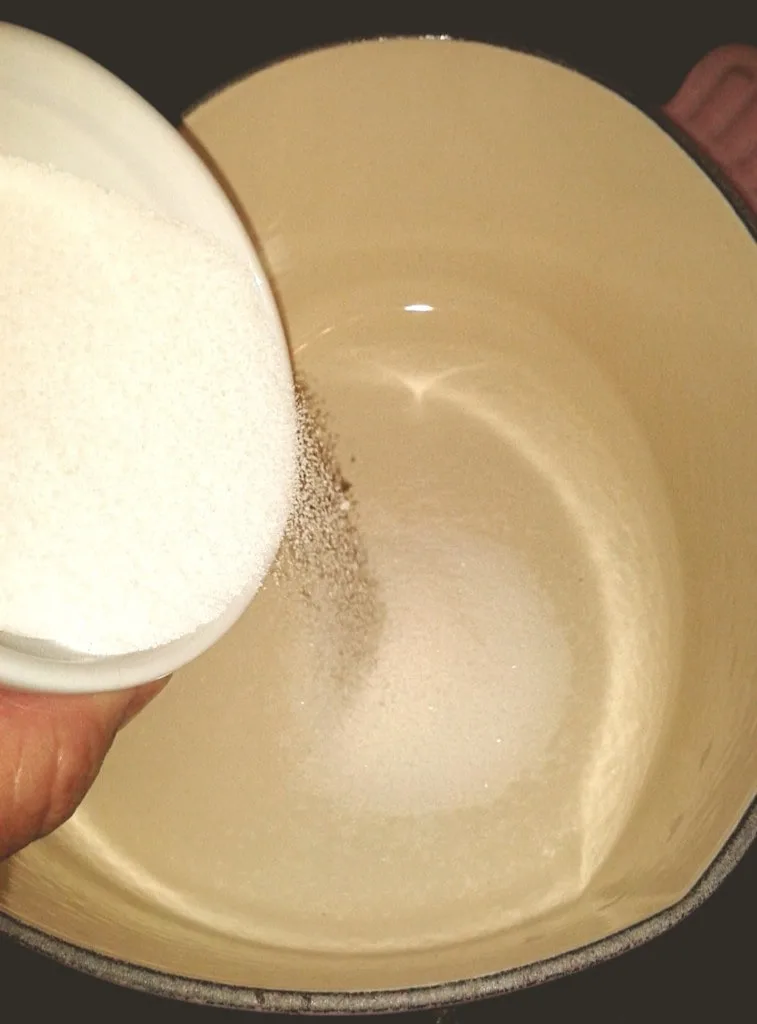
Add ½ cup of sugar to the saucepan.
Next add 1 cup of water.
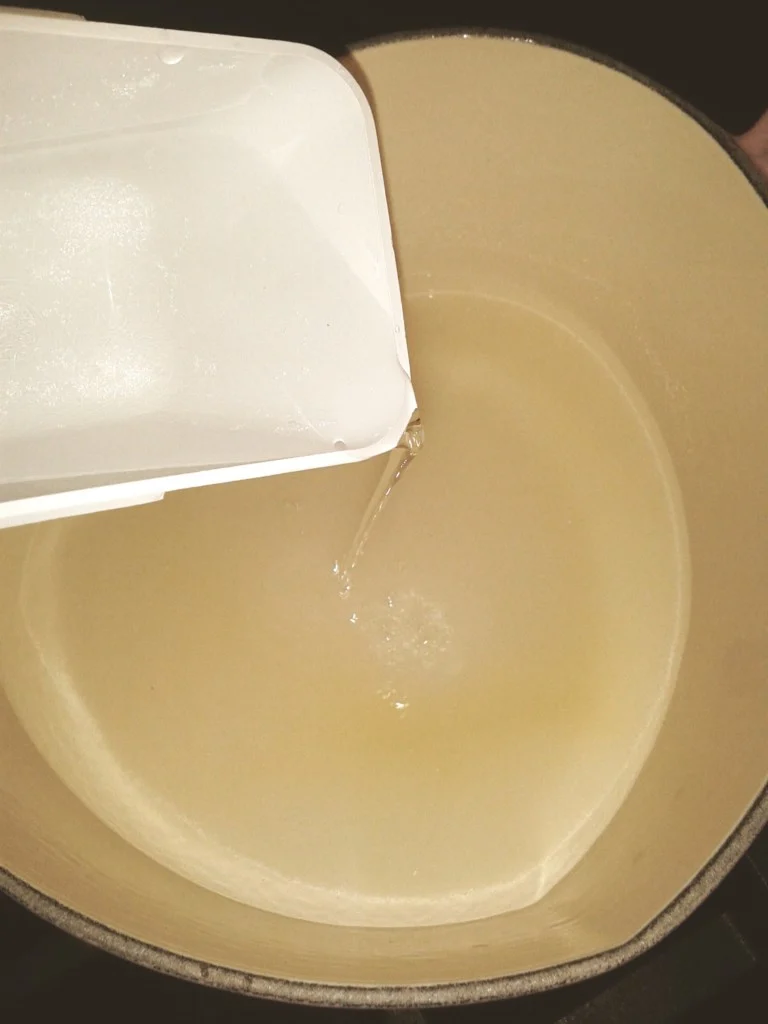
Turn your oven on to medium low and stir your sugar water in the saucepan.
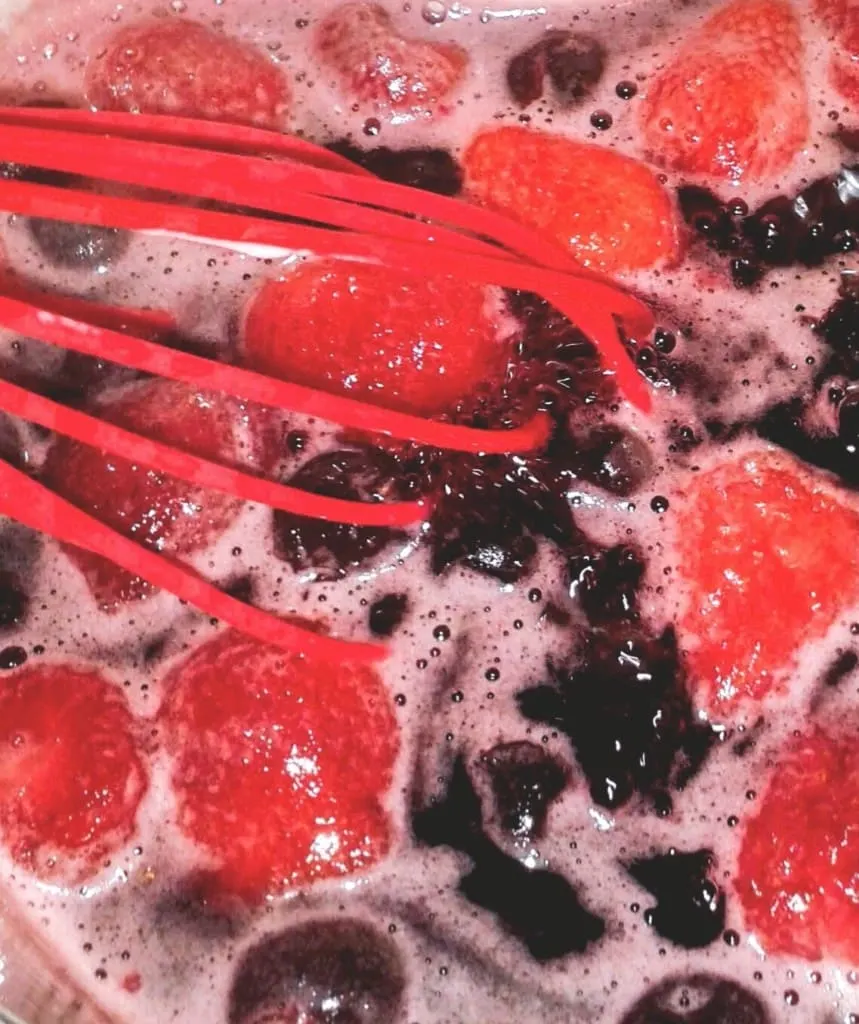
Next add 1 cup of First Street Dark Cherries and 1 cup of First Street Strawberries.
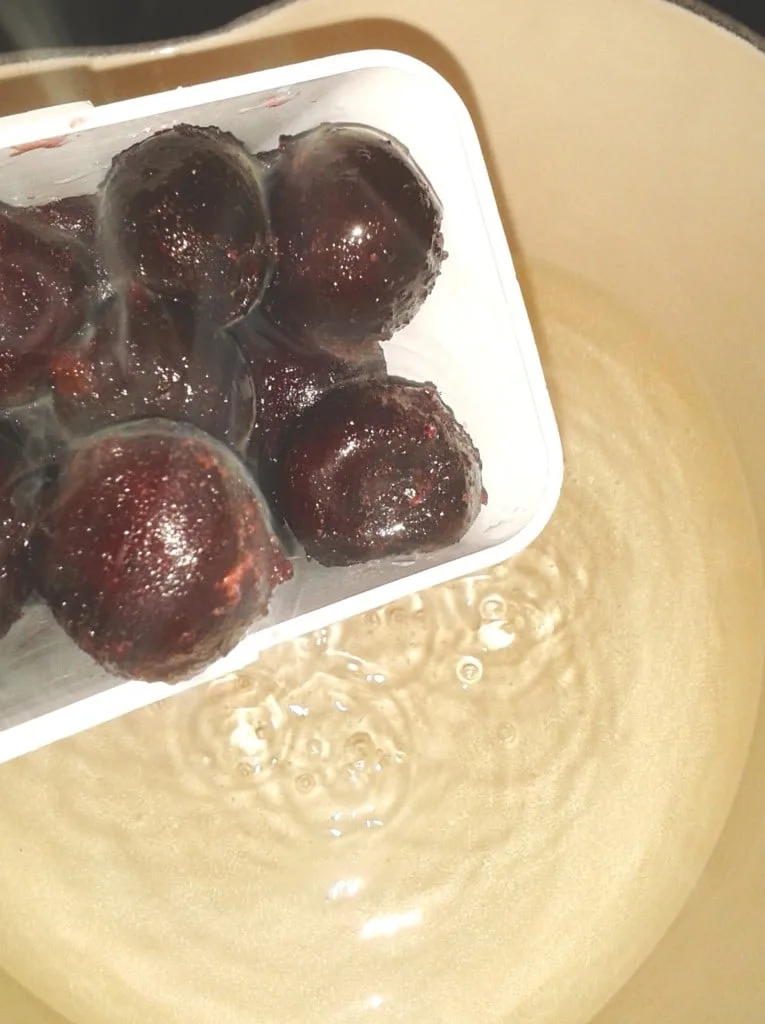
Stir the berries together and cook for a total of 10 minutes. Do not put a lid on the saucepan. You actually want the sauce to cook down and thicken up. When the original timer goes off, stir the mixture again and reset the timer for another 10 minutes.
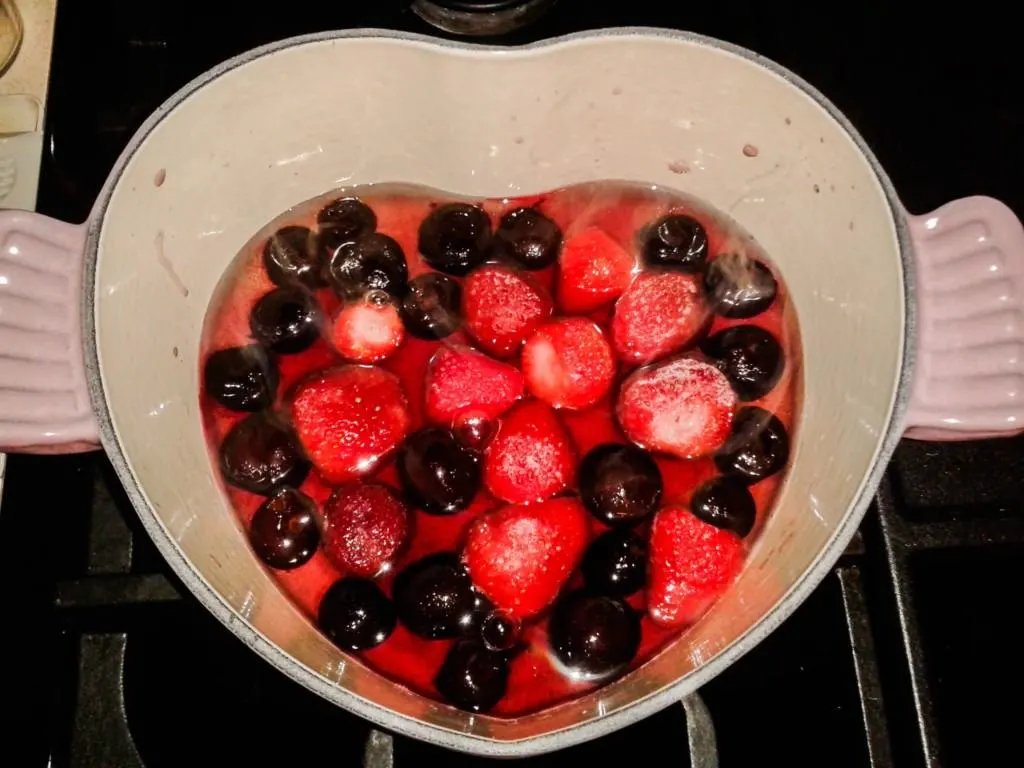
Step 3: The Pie Base
While the sauce is simmering, prepare the pie crust. Make sure to wash and keep the plastic lid that comes with the pie container, because you will need it later.
Next, add 1/3 of the First Street Stawberry Ice Cream to the pie crust.
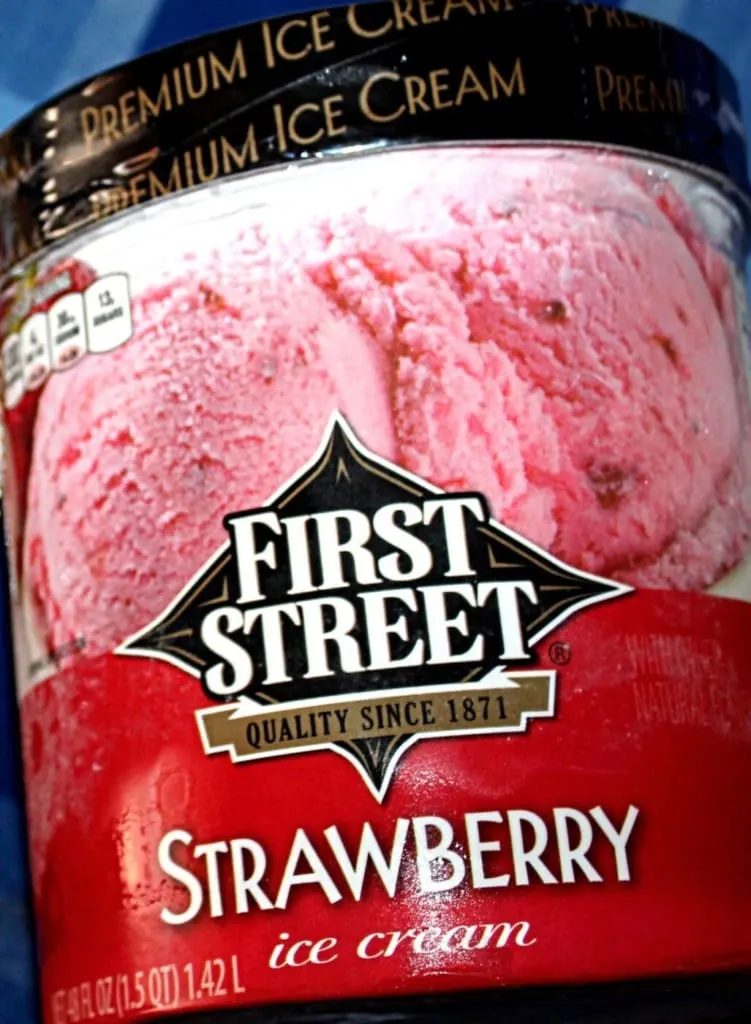
Spread the ice cream out evenly in the pan and leave about ¼ inch of room at the top to later add the berry topping.
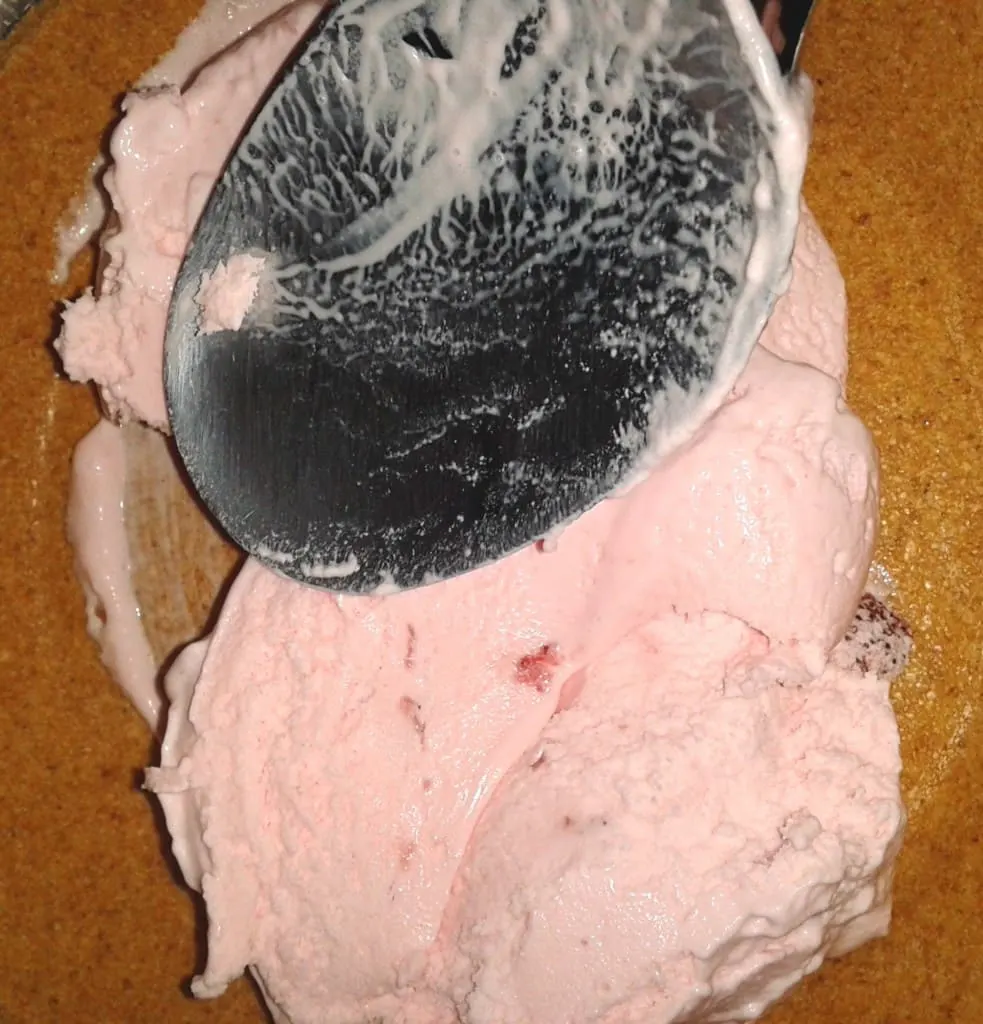
Flip the pie lid over and put it back on top of the pie. Return the pie to the freezer.
Step 4: The Topping
Make sure to follow these steps in order to avoid clumping.
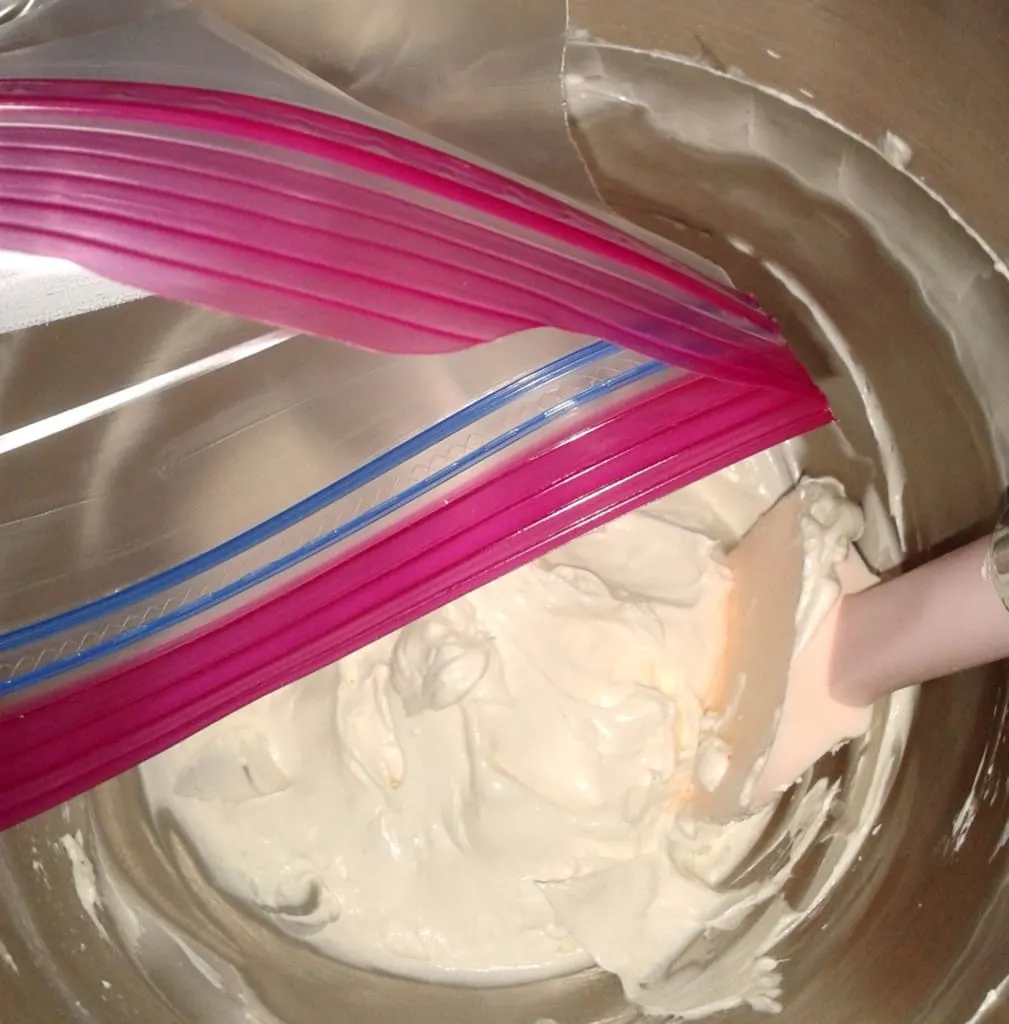
Add ½ stick cream cheese into the mixing bowl and mix until smooth.
Add ¼ cup of sugar to the bowl and mix until smooth.
Cut a lemon in fourth and squeeze out the juice from ¼ of the lemon into a bowl. Remove the seeds.
Add the lemon juice to the cream cheese sugar mixture.
Next, mix and scrape down the sides of the bowl with a spatula and stir for a smooth finish.
Add half a container of whipped topping to the bowl and mix again.
Finally, scoop out the topping into a plastic zip lock bag and refrigerate until you are ready to decorate your pie.
Step 5: Finish the Berry Sauce
By now, your timer should have gone off twice. Use a wisk to squish down the strawberries in the saucepan and set the timer for another 10 minutes. The total cook time for the sauce is 30 minutes.
After 30 minutes, you should be able to squish down the cherries too with your whisk. If not, let them cook a bit longer. Once they are able to be squished, turn off the stove and let the sauce cool for 10 minutes.
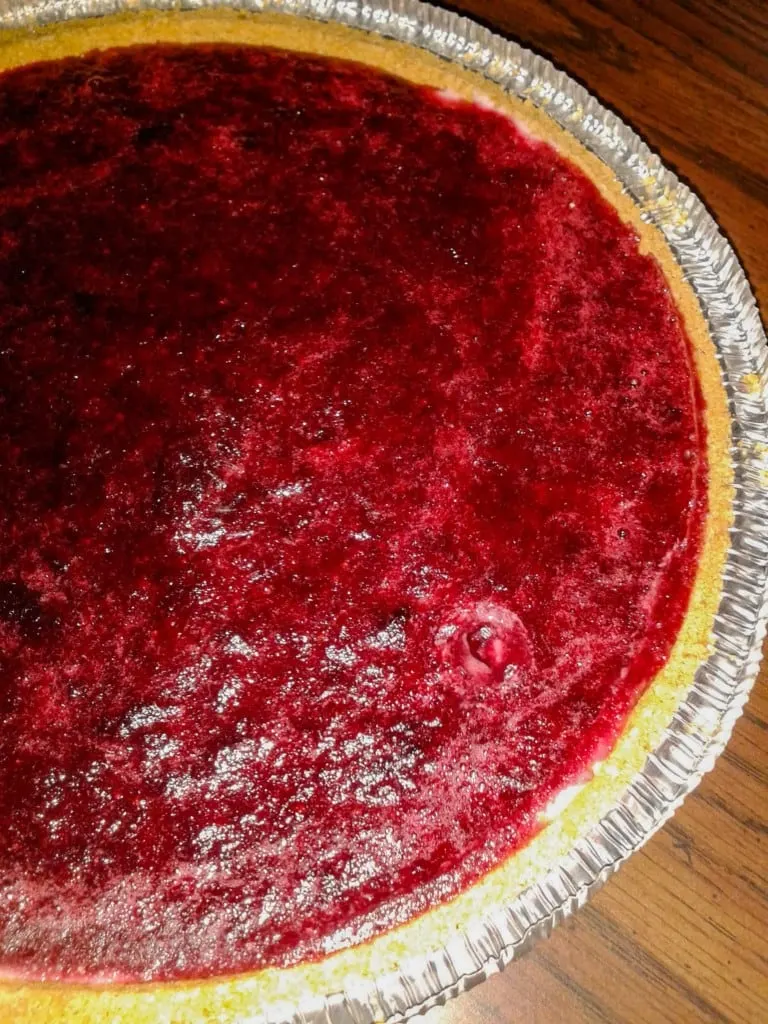
As the sauce is cooling down, retrieve the pie base from the freezer and pour the sauce into the base. You may also have extra sauce depending upon how much room you left at the top of the pan.
Spread out the topping with a spatula.
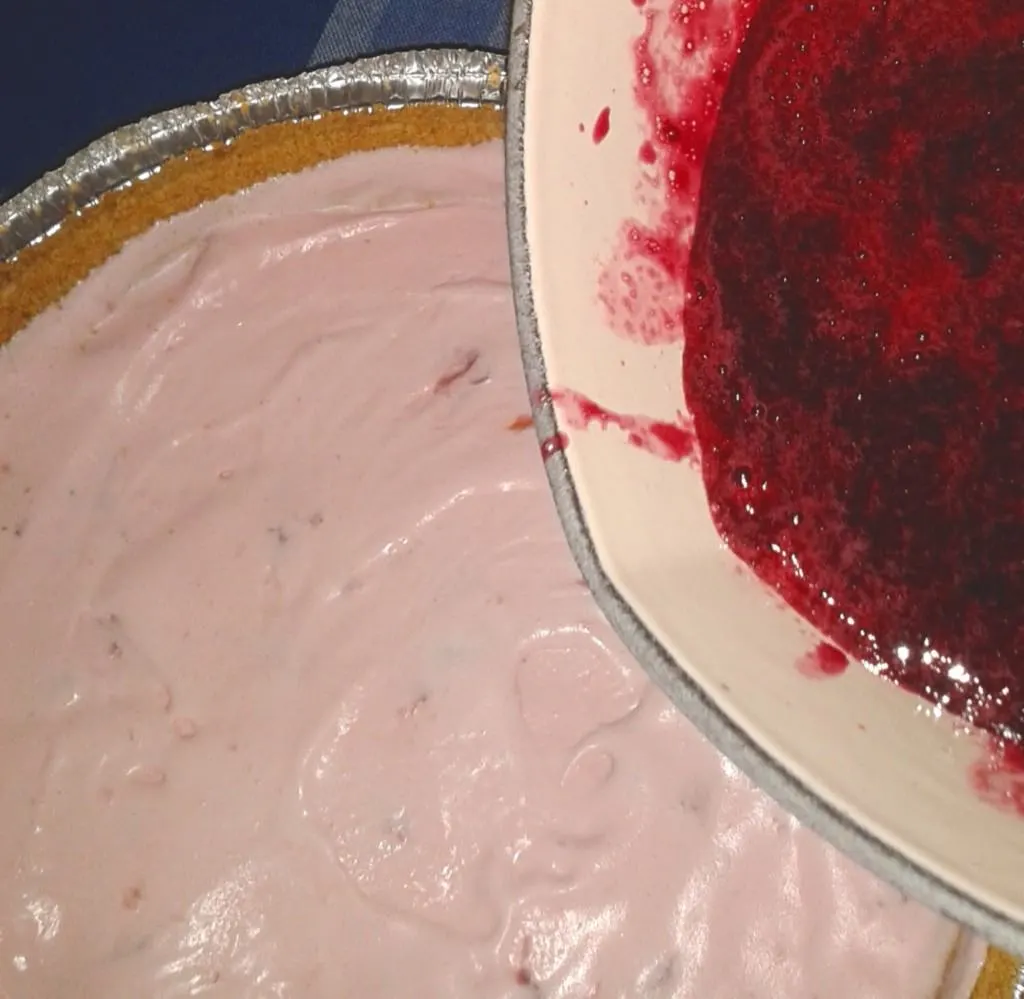
Return the flipped lid to the pie and put the pie back in the freezer. Make sure it is flat or the sauce may run out!
Step 6: Decorate
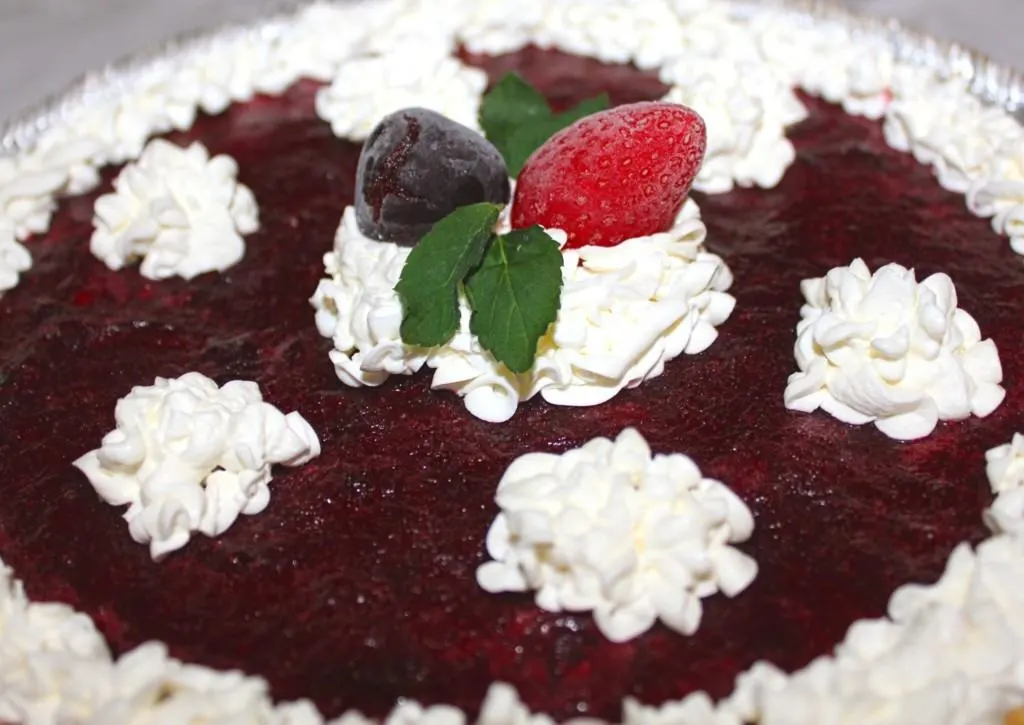
Once your pie is frozen, you can decorate it with your homemade topping. You can either scoop the topping out of the bag and spread it on top of the pie or cut off the end of the zip lock bag and make decorations. I also like to add frozen fruit, a spirg of mint and sprinkes on top for presentation. Now you can serve and enjoy!
Enter The Smart & Final Frozen is Fresh Sweepstake
March is Frozen Food Month! And since Smart & Final is the go-to Frozen Food Month headquarters, they offering consumers the chance to purchase any participating frozen food item at Smart & Final and receive a coupon code that allows you to qualify for a chance to win a trip to Alaska!

To learn about Smart & Final’s Frozen is Fresh Sweepstake and see more awe-inspiring frozen food recipes, visit http://www.smartandfinal.com/FrozenSweeps.
Happy Cooking!
Jilleen


krystal
Monday 27th of March 2017
This looks amazing. Love how easy it is and the frozen berries are a nice simple touch!
Destany
Thursday 23rd of March 2017
YUM!!! This looks really delicious. I'd probably eat the whole things myself
Bonnie @wemake7
Thursday 23rd of March 2017
That looks so good! I love all berries and I bet I would love this pie.
Paula Bendfeldt
Wednesday 22nd of March 2017
I love berry pies so much. This recipe looks delicious and so easy to make. Thanks for sharing!
Emily
Wednesday 22nd of March 2017
Oh this pie looks delicious! I think this would be great to make in summer, a nice and refreshing dessert.